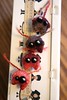
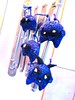
This here is the Best . Pattern . Ever. It is deliriously cute and quick and EASY and it is my new crack. (Sorry Octopus!) I've made a LOT of these dudes ...


I mostly follow the pattern as is, but there are a couple tweaks and some tricks that I do in the knitting and the finishing to give my aliens some extra flair. The changes are: use
That's kind of an eye-twisting list, so I decided to photo-document it all.
Without further adieu ...
tutorial: mini aliens, pigu-style!
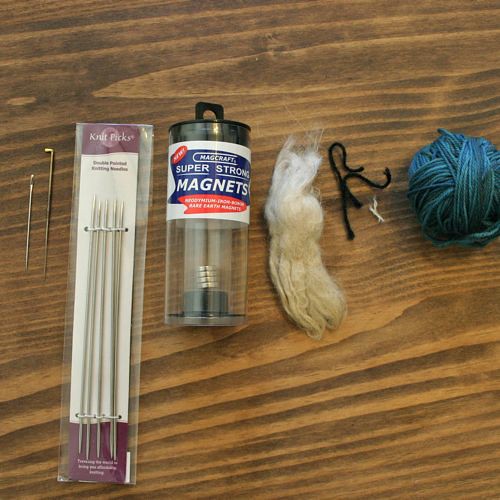
Equipment. From left to right: needle, felting needle (fine), DPNs, super magnets, fibre (stuffing), felting yarns (black and white), yarn.
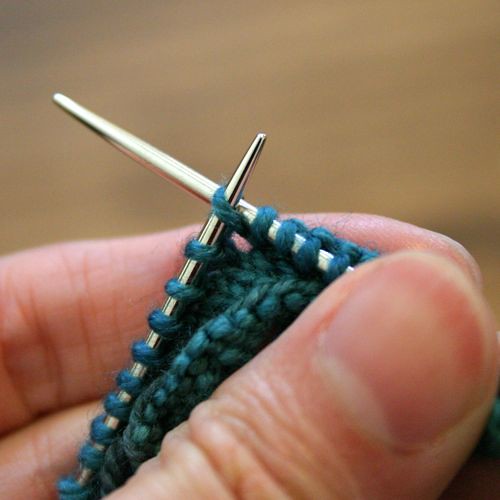
Step 1. Follow the Knit Flat instructions up to Row 8. On rows 2, 4, 6, use
Step 2. Work Row 8 with the following modified bobble instructions:
kfbf, turn, p3, turn, k3, turn p3, wrap and turn, k3tog.
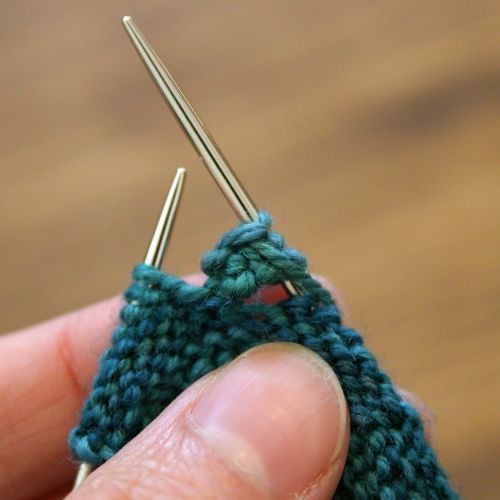
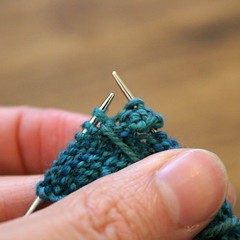
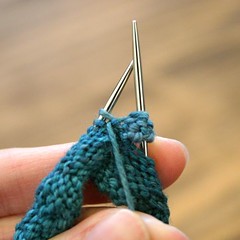
Pics below show, from left to right:
1. Prior to w&t
2. First bobble w&t in progress
3. Second bobble w&t in progress.
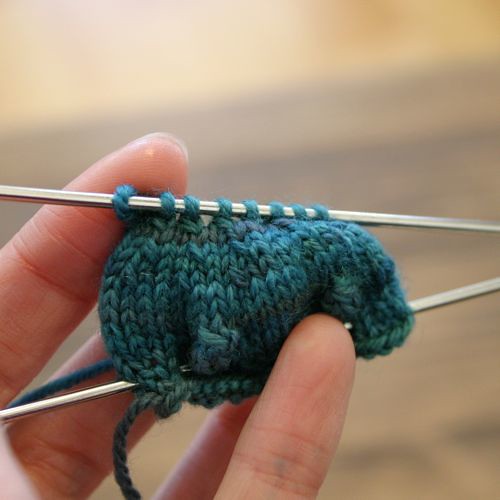
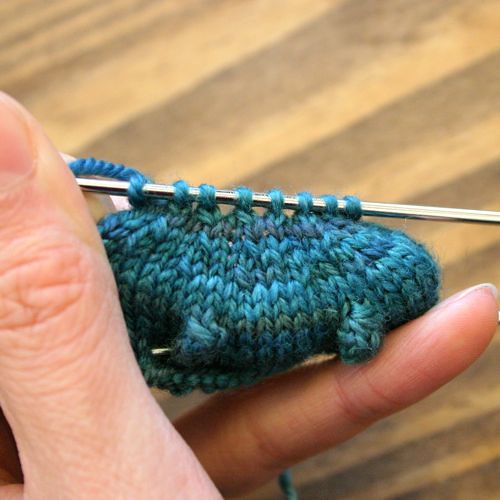
Step 3. Knit in pattern up to Row 12 (first decrease row). For decrease rows 12, 14, 16, use the following instructions for decreasing symmetrically. Purl odd rows as in the pattern.
Row 12: k2, k2tog, k2, k2tog, k2, k2tog, k2, ssk, k2, ssk, k2, ssk, k2
Row 14: k2, k2tog, k1, k2tog, k1, k2tog, ssk, k1, ssk, k1, ssk, k1
Row 16: k1, k2tog, k2tog, k2tog, ssk, ssk, ssk, k1
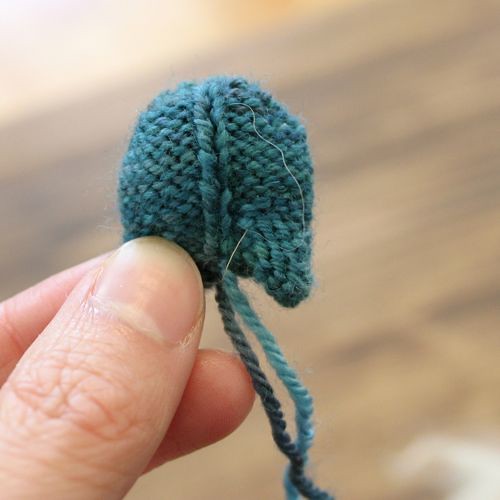
Afterwards, this is what your alien should look like:
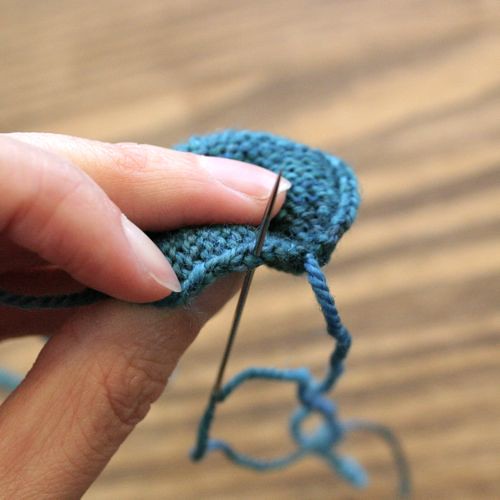
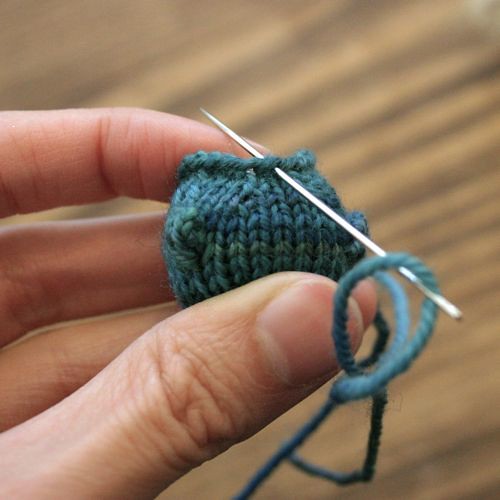
Step 4. Seam up the back using your preferred style of seaming. Mattress stitch is probably the neatest, but I use what I already know, which is an invisible vertical seam.
1. Locate the non-edge legs of the selvedge stitch columns. (pic shows example. we're not actually starting with this)
2. Match up the edge stitches from the same rows and stitch across.
3. Work down the entire edge. Secure the end of the yarn by sewing through the last stitch a few more times.
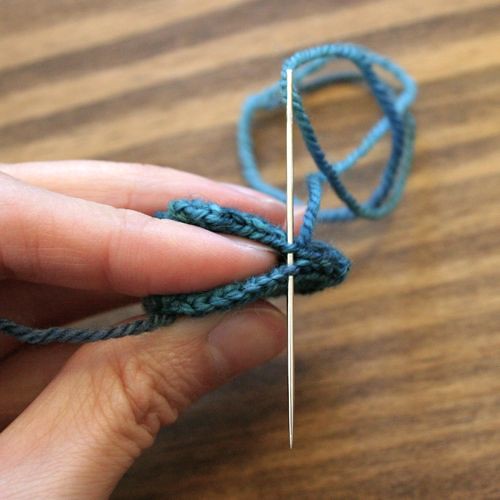
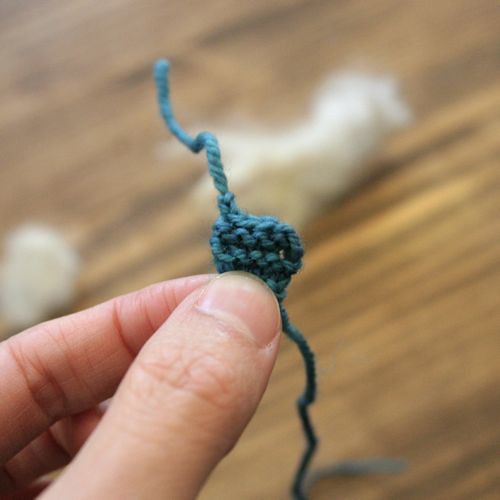
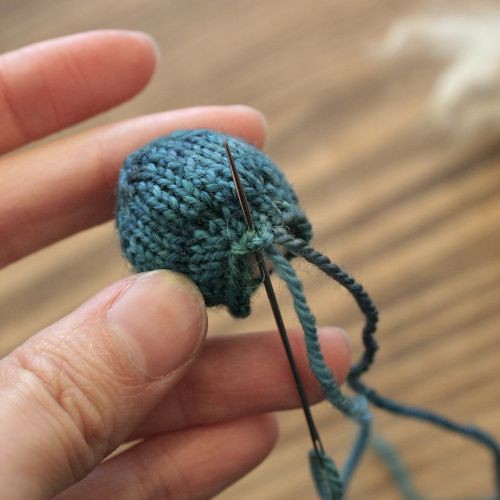
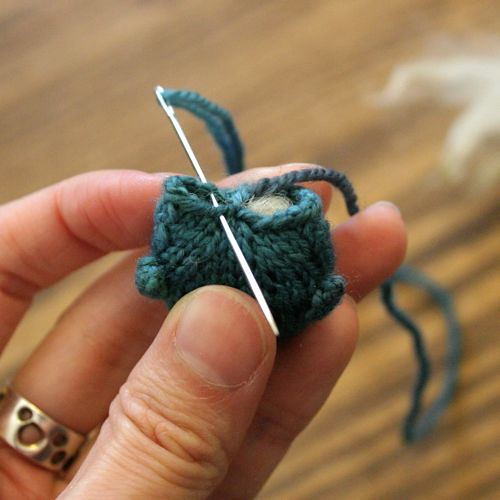
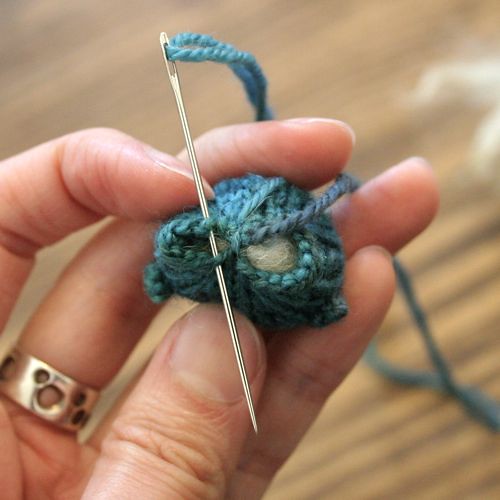
Step 5. Magnet time!
1. Turn your alien inside out.
2. Knit a little square. Usually a 5x5 garter stitch square does it. Leave a long tail.
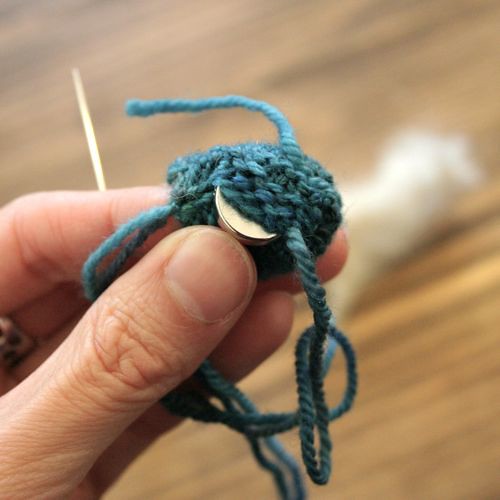
3. Use the long tail to sew three sides onto the middle back of the alien - use the seam line to find the middle.
4. Insert the magnet from the open fourth side.
5. Sew up the fourth side, then knot the loose thread.
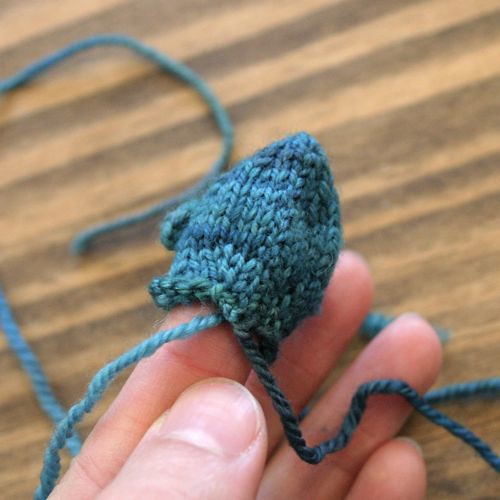
6. Flip the alien rightside out again.

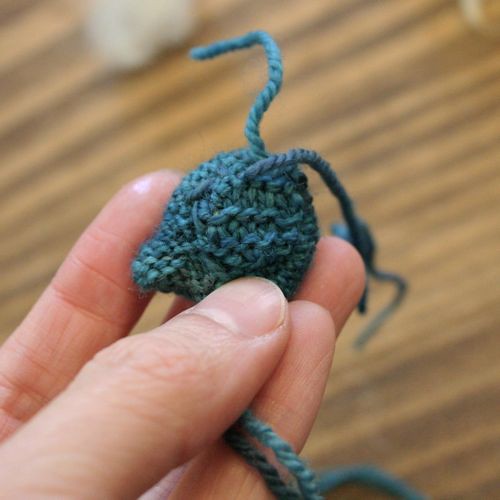
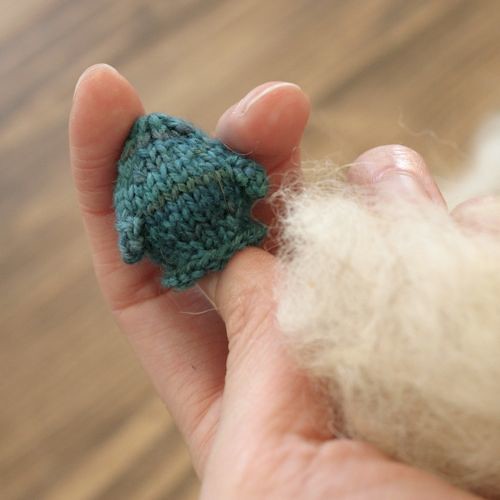
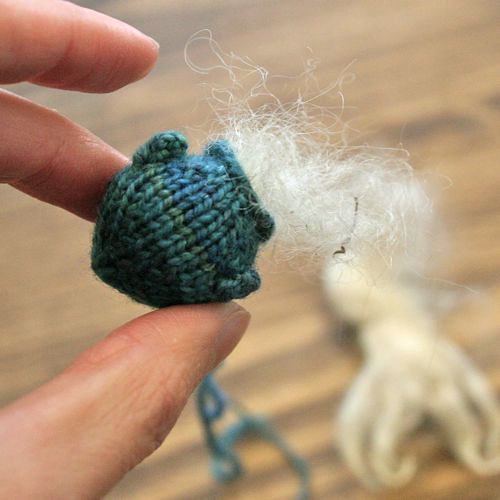
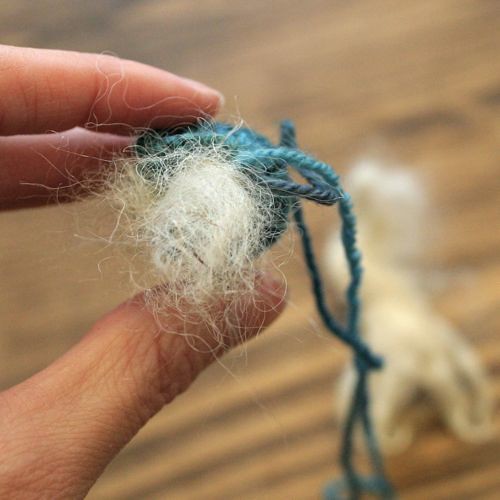
Step 6. Stuffing time! The tighter you stuff these guys, the rounder and fatter (and therefore cuter) they'll be!

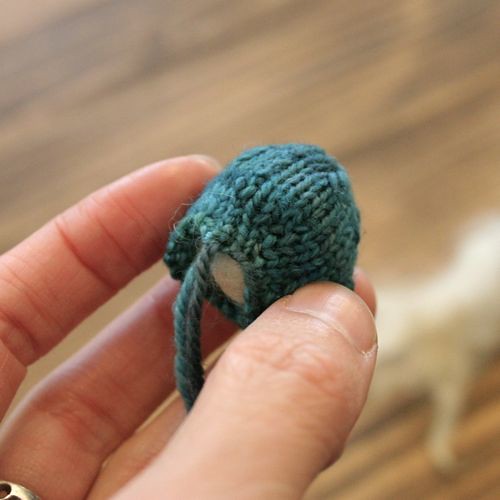
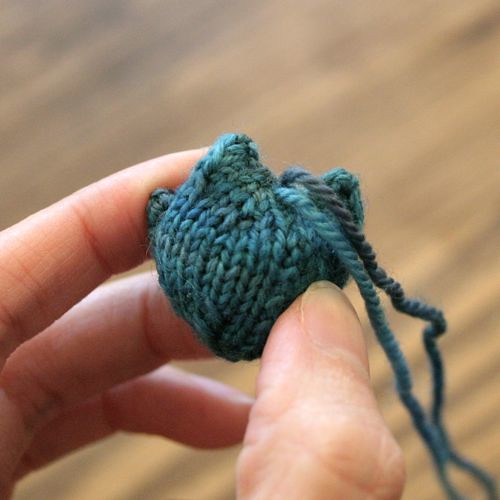
Step 7. Sewing up the legs
1. Locate the seam on the back.
2. Take an end and thread it through the bottom of the back seam. (We start sewing from the middle, ie. the crotch)
3. Sew through the bottom of the front as well
4. Pull the yarn tight to close the leg seams and start seaming towards a toe.
5. Keep sewing.
6. Sew to the toe, then sew back towards the crotch. One leg done! Now do the other in the same way.
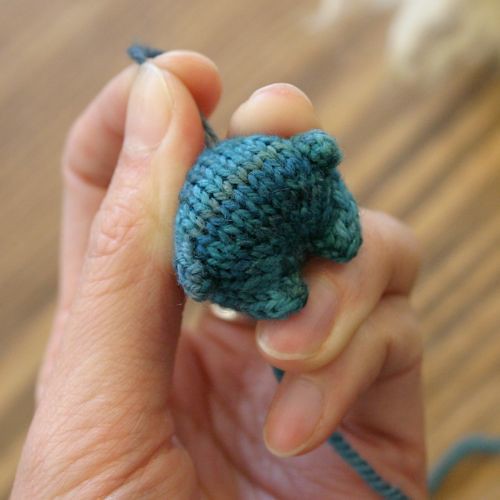
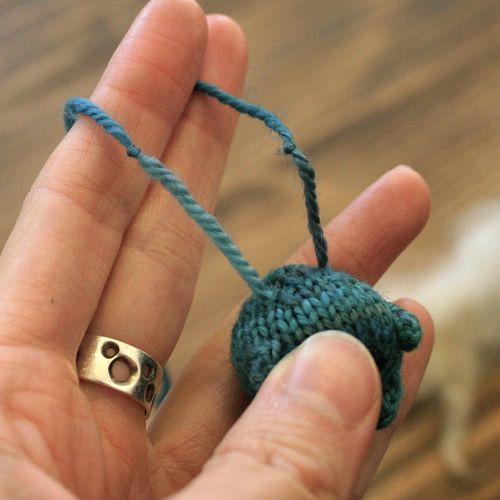
Step 8. Tuck in the legs and create the antennae.
1. Take one yarn, find where you want the base of one antenna to be, and sew up through that point.
2. Pull the yarn tight to tuck in the crotch. This will make the toes point inwards.
3. Using your fingers to keep the legs and crotch tucked in, make a few stitches with the end of the yarn to hold it in place.
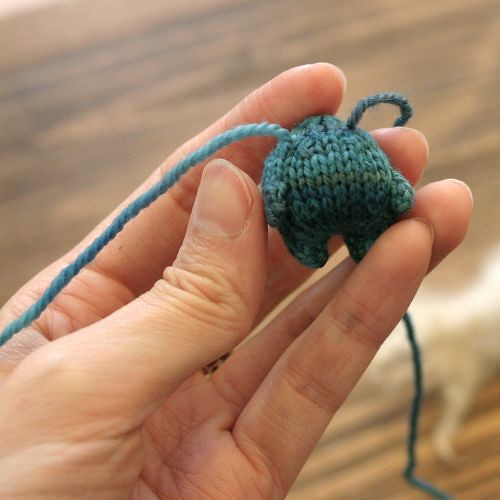
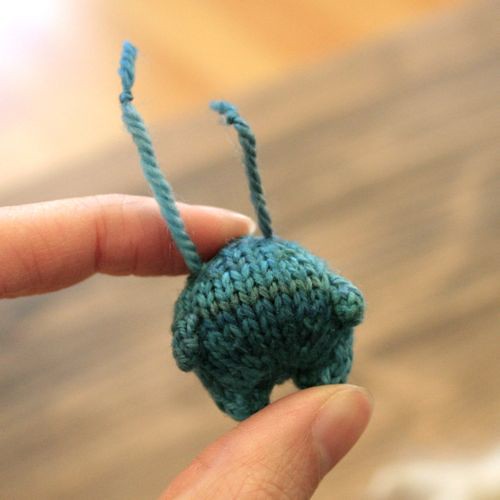
4. Both antennae ends stitched in.
5. Tie knots in the antennae.
6. Cut off the ends.
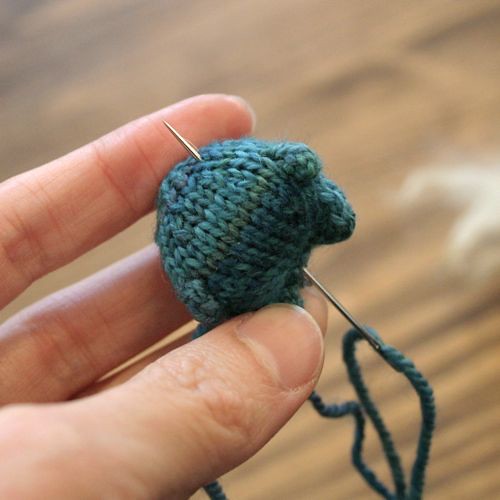

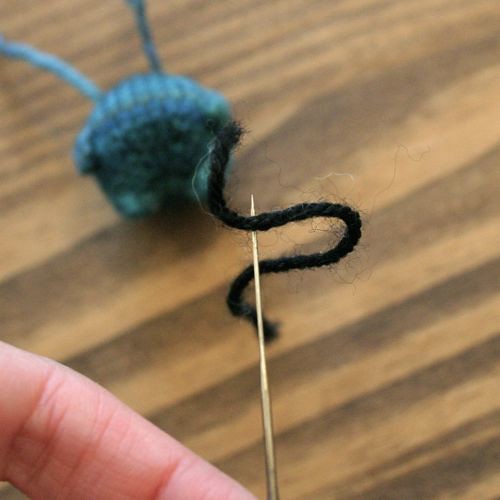
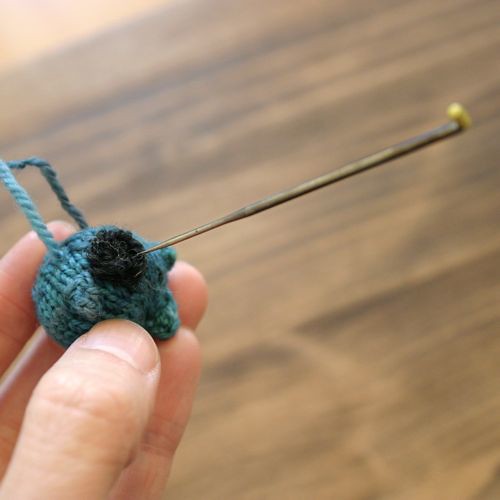
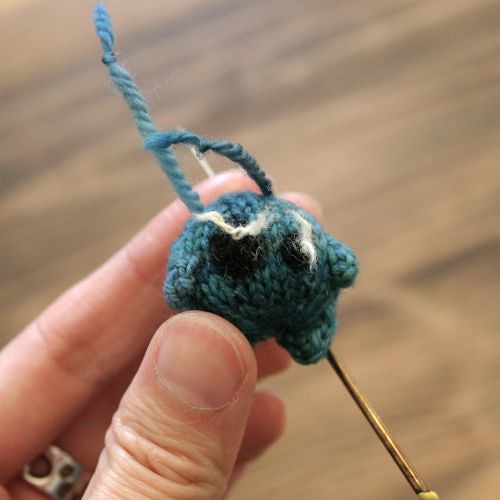
Step 9. Felting on the eyes.
1. Get your felting needle and the yarn.
2. Start felting on the eyes.
3. Add the eye highlights. No, those aren't eyebrows... :P
And TA-DA!!!!!

So, so adorable!! Love this tutorial.
ReplyDeleteI am most definitely making a lot of these.
ReplyDelete(this may be a mild understatement)
I adore these little guys You make look so easy!
ReplyDelete